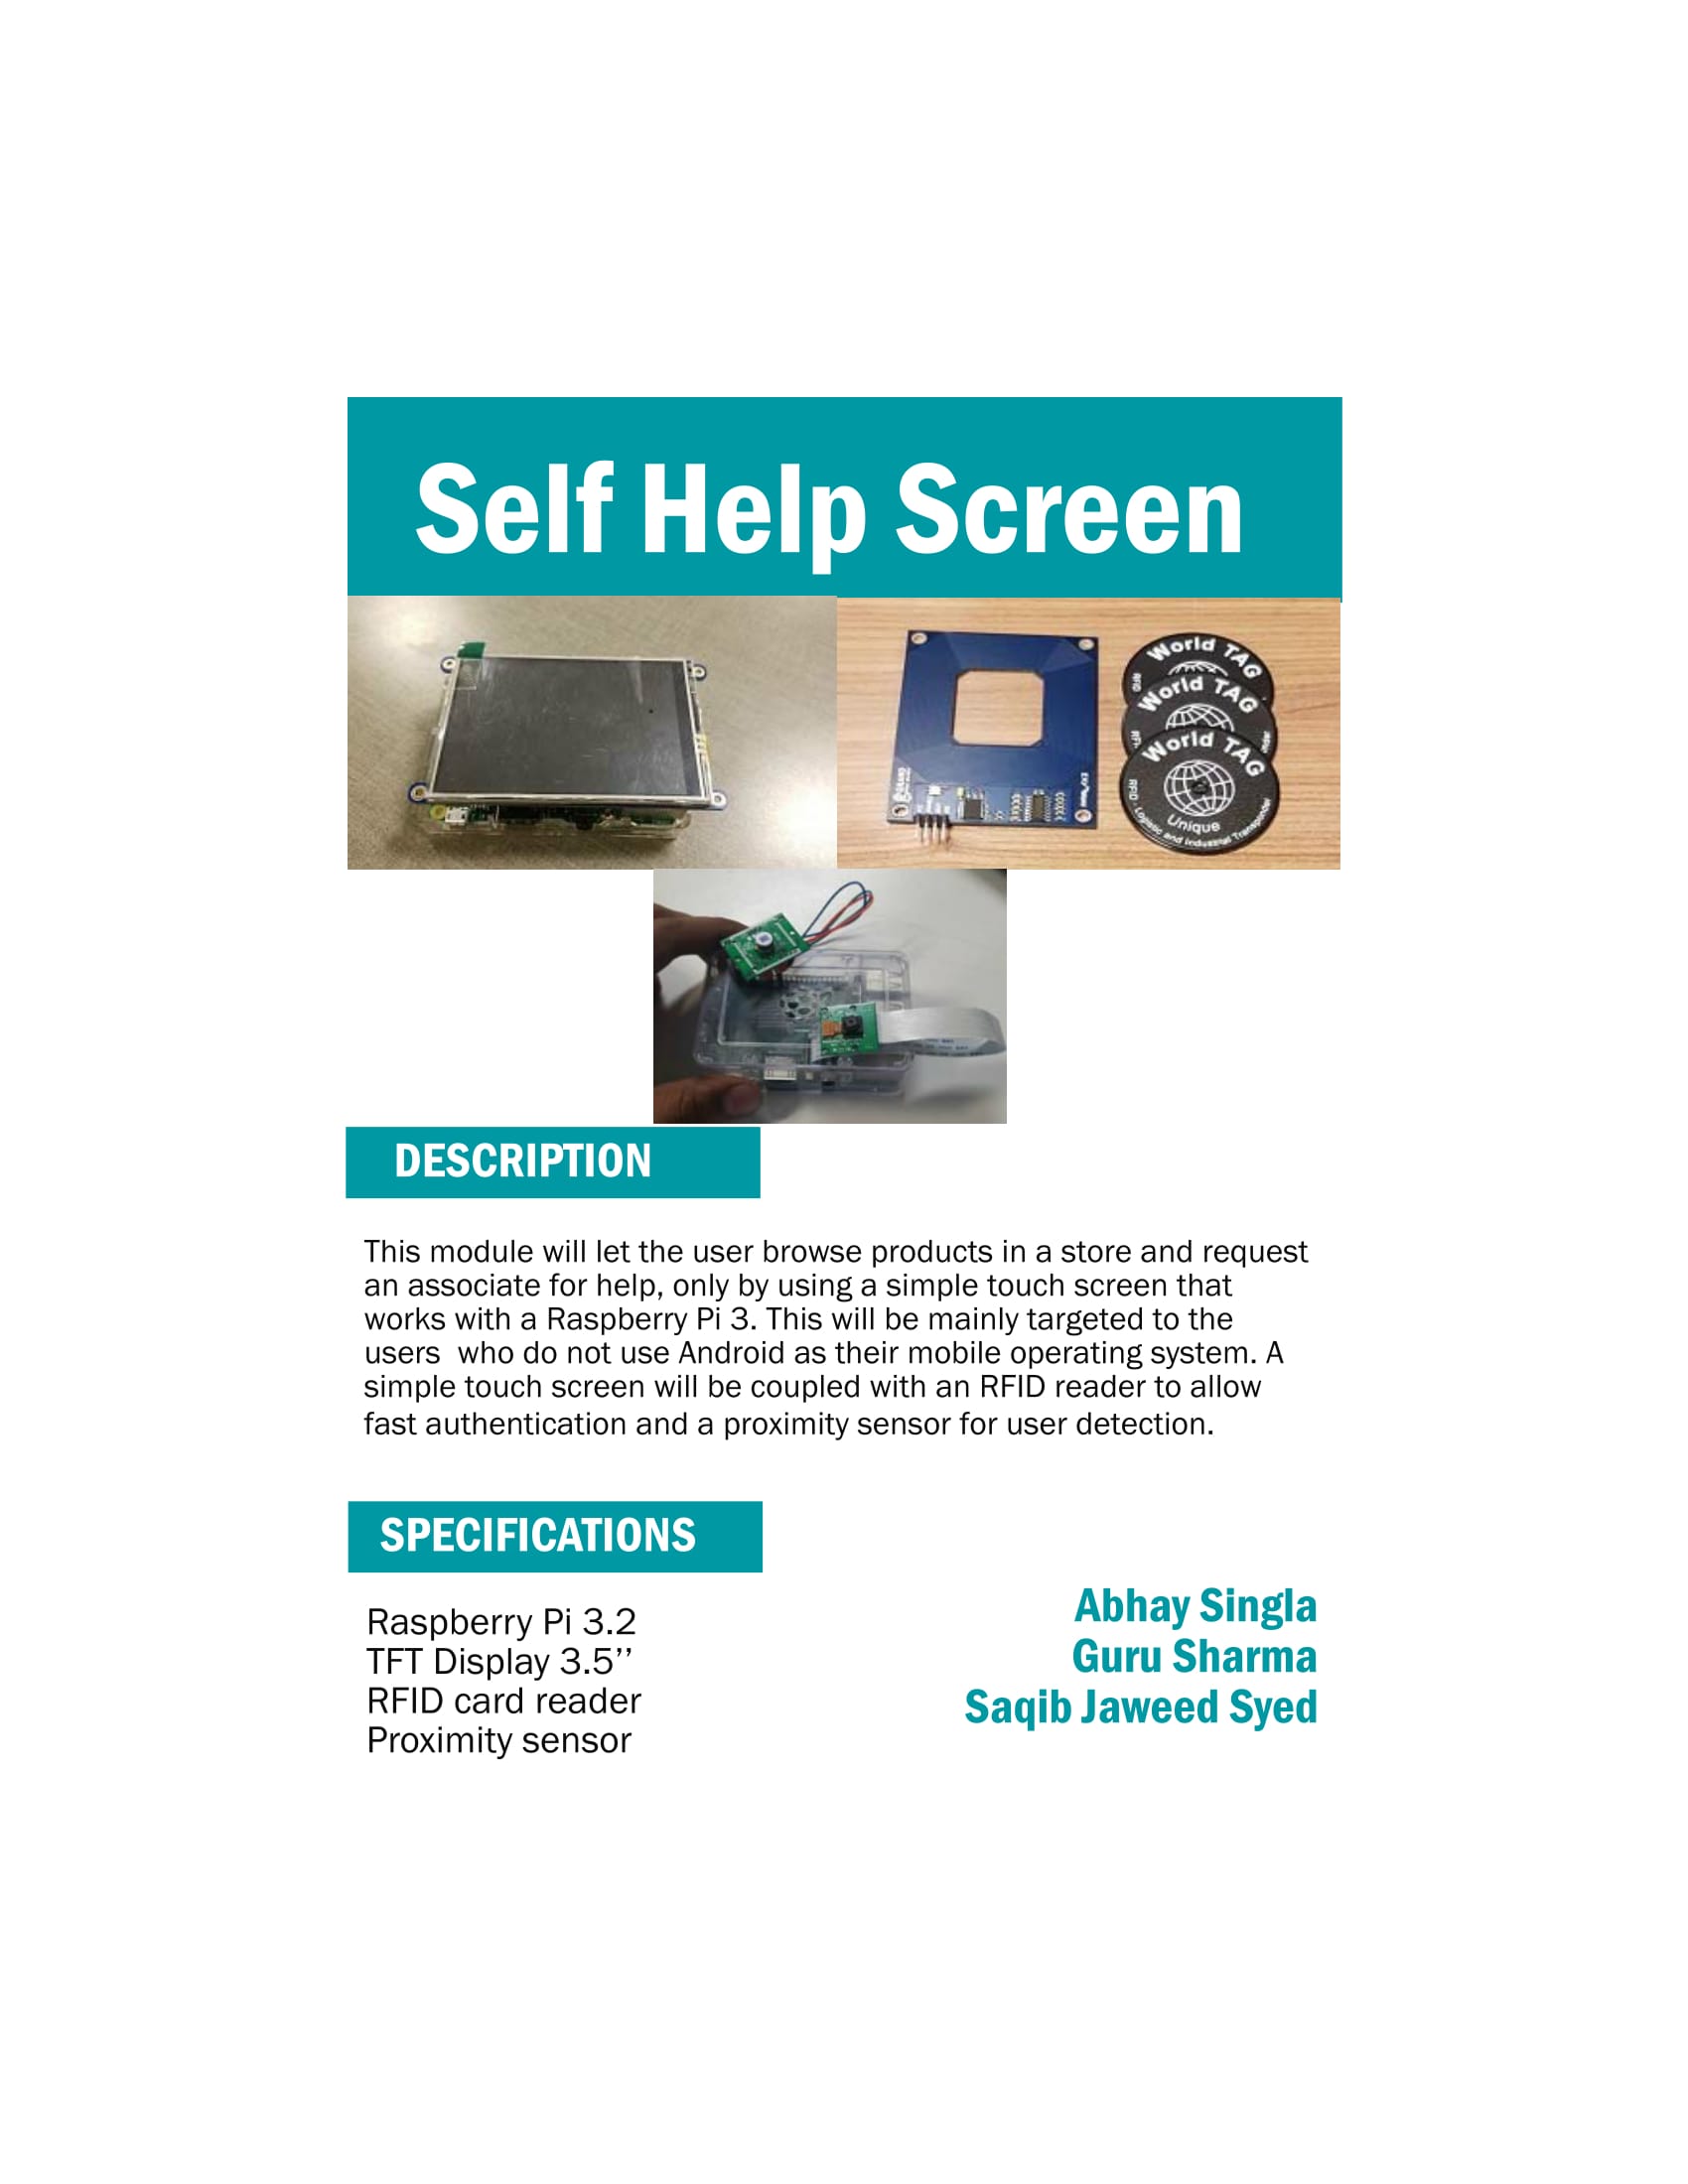
Help-Line
TFT Display for Raspberry Pi 3
The Idea:
I will work to make a touchscreen work with a raspberry pi 3. This project will let the user know His/Her position in line while he waits to get attention of a representative or an attendant. Users can also lookup a product in store and once they are done shopping, they can fill out an E-Survey using a simple and interactive touch screen.
January 21 2018
Please read the Build Instructions and follow it carefully to make your own project.
January 15 2018
My Presentation is ready and I will be presenting on the 22nd of January.
January 06 2018
This is my Progress Report for week 10 and my project is ready for demo on January 08 2018
January 03 2018
I started to do my project again and saw that Adafruit has a Jessie based ISO image that I wrote on my SD card using a software called Win32DiskImager. The image that I found can be downloaded from https://drive.google.com/file/d/1LjGL4q_rgiJxwAZnhUNQZa28Kp7b6usB/view?usp=sharing. This will free us from the hastle of downloading the code.
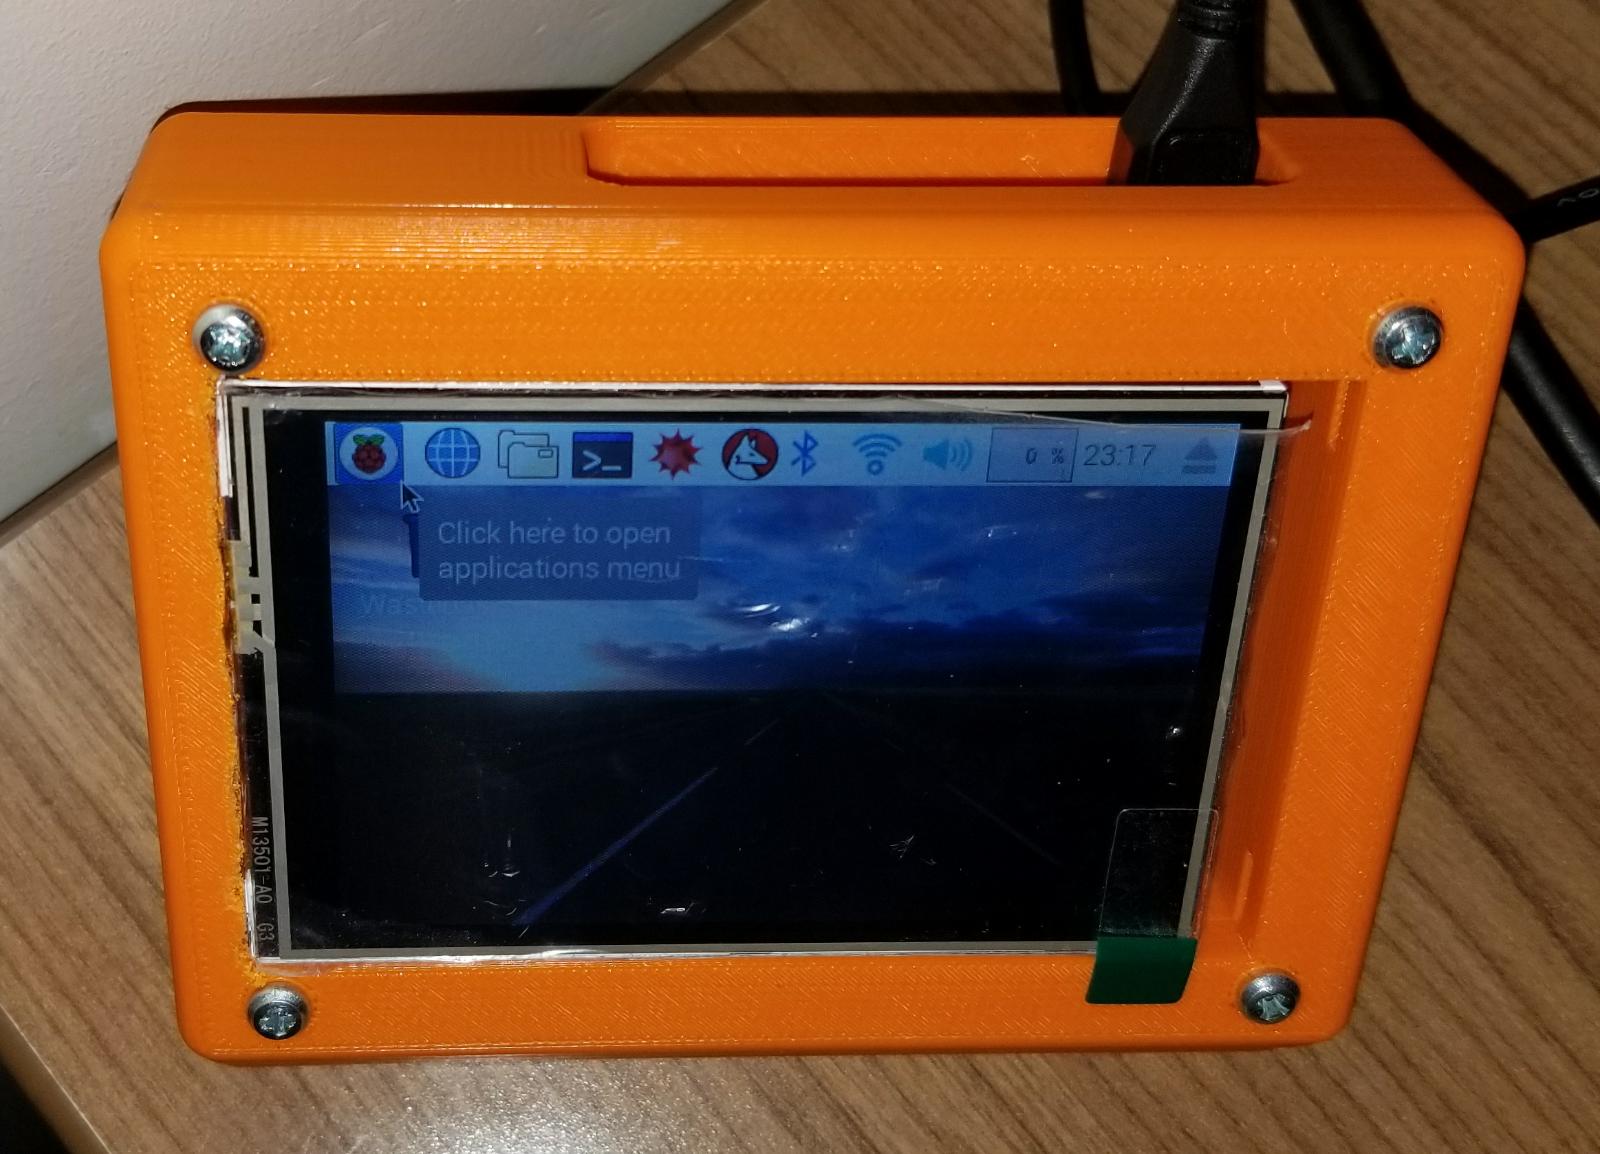
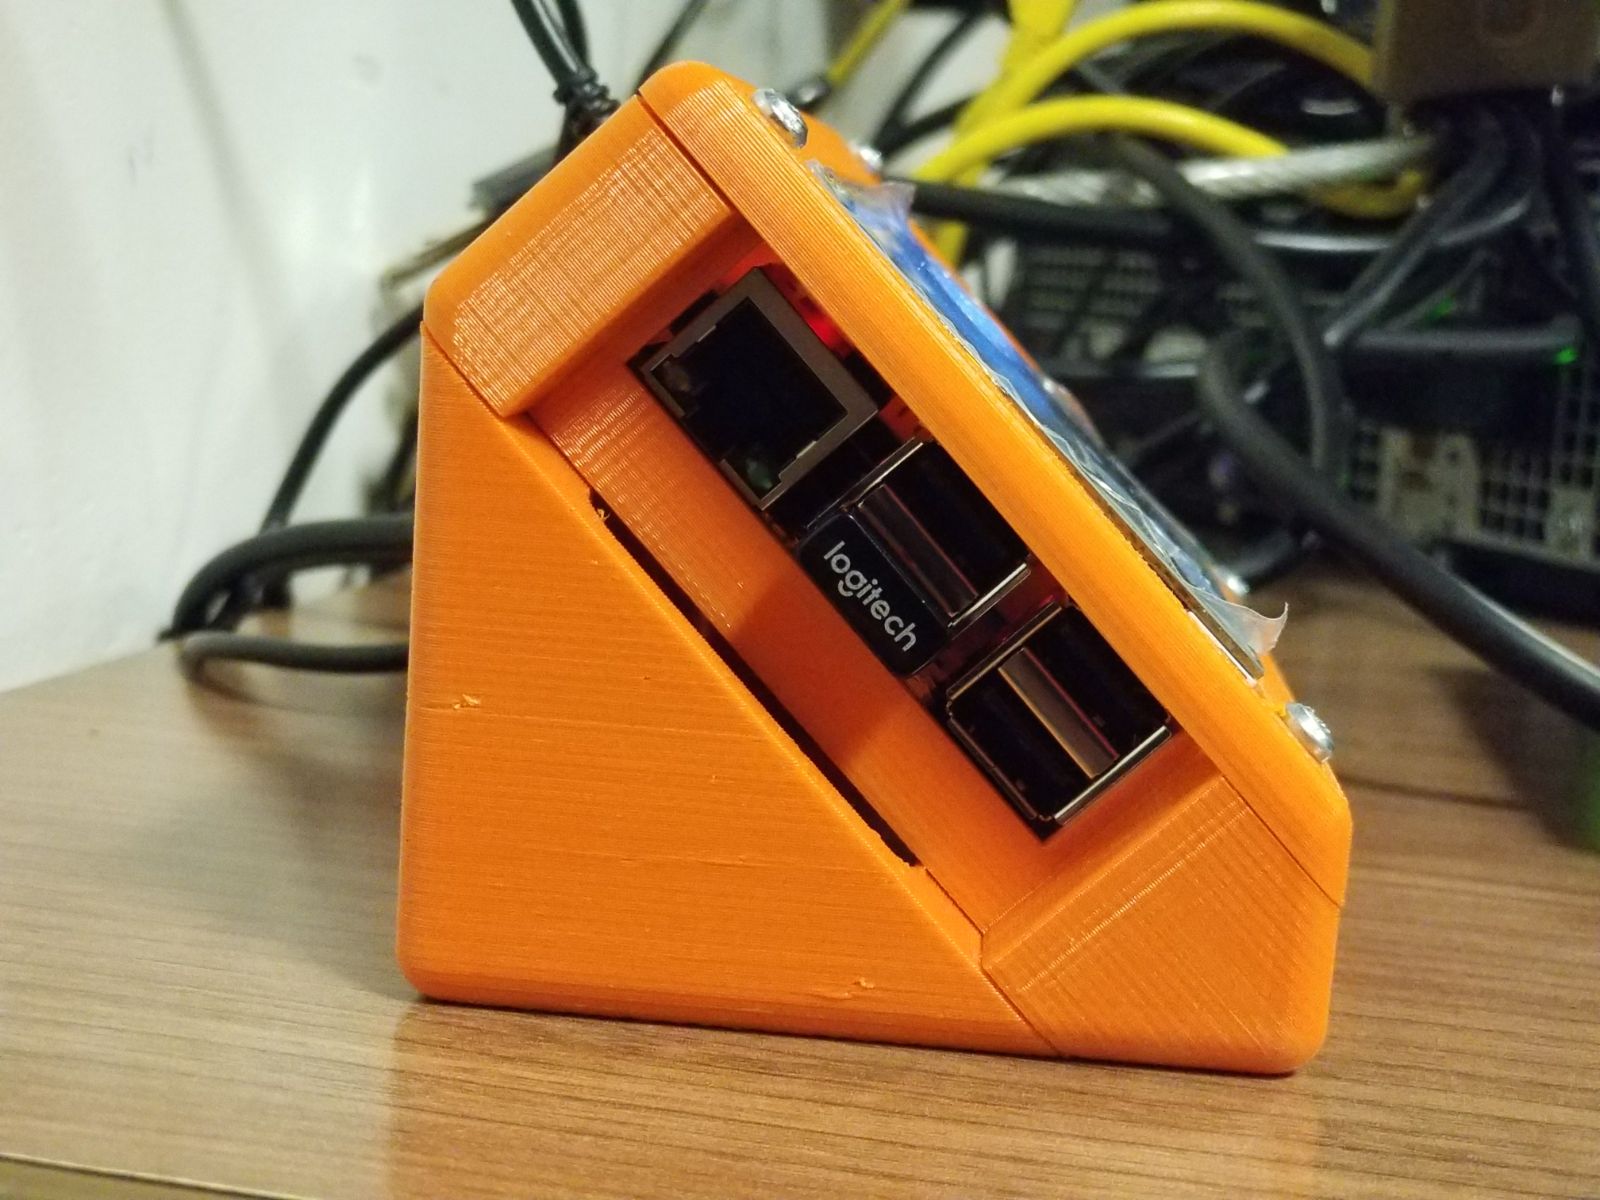
This is how my project looks as of today.

December 22 2017
Today, I got my 3D printed case but while putting it together, I forgot to take the SD card out of the Raspberry Pi and ended up snapping it. Due to which I would now have to buy another 16GB Micro SD card for $8 and do everything from scratch. :-(
December 19 2017
I found a 3D case here and have sent the files to be printed. I went with the plug-friendly case as that allows the ports to come out of the case by 2mm so that they are more friendly to use and can be used with any kind of cable.
December 18 2017
Please watch my 30 Second Video that shows my work done on youtube or here
December 11 2017
30 Second Script
“Hello everyone, my name is Saqib Jaweed Syed and I am working on a 3.5’’ Touch Screen that I bought from KIJIJI. I started with getting my PCB board printed and sodered to I could get my screen to work along with the Temperature, Humidity and Light sensor. I feel very accomplished at this point as I have now, got it to work with more functionality then promised. For e.g. Screen Mirroring and Remote access. I found that the screen is more responsive to a stylus as compared to using with finger. At this point though, I am waiting for my custom 3D Printed Case and looking forward to couple it with Abhay’s PIR sensor and Guru’s RFID Reader next semester.”
0s-12s: Unpacking, Sodering and Assembling
13s-29s: Powering on screen and testing sensors on it
30s-35s: Difference between Finger vs Stylus
December 04 2017
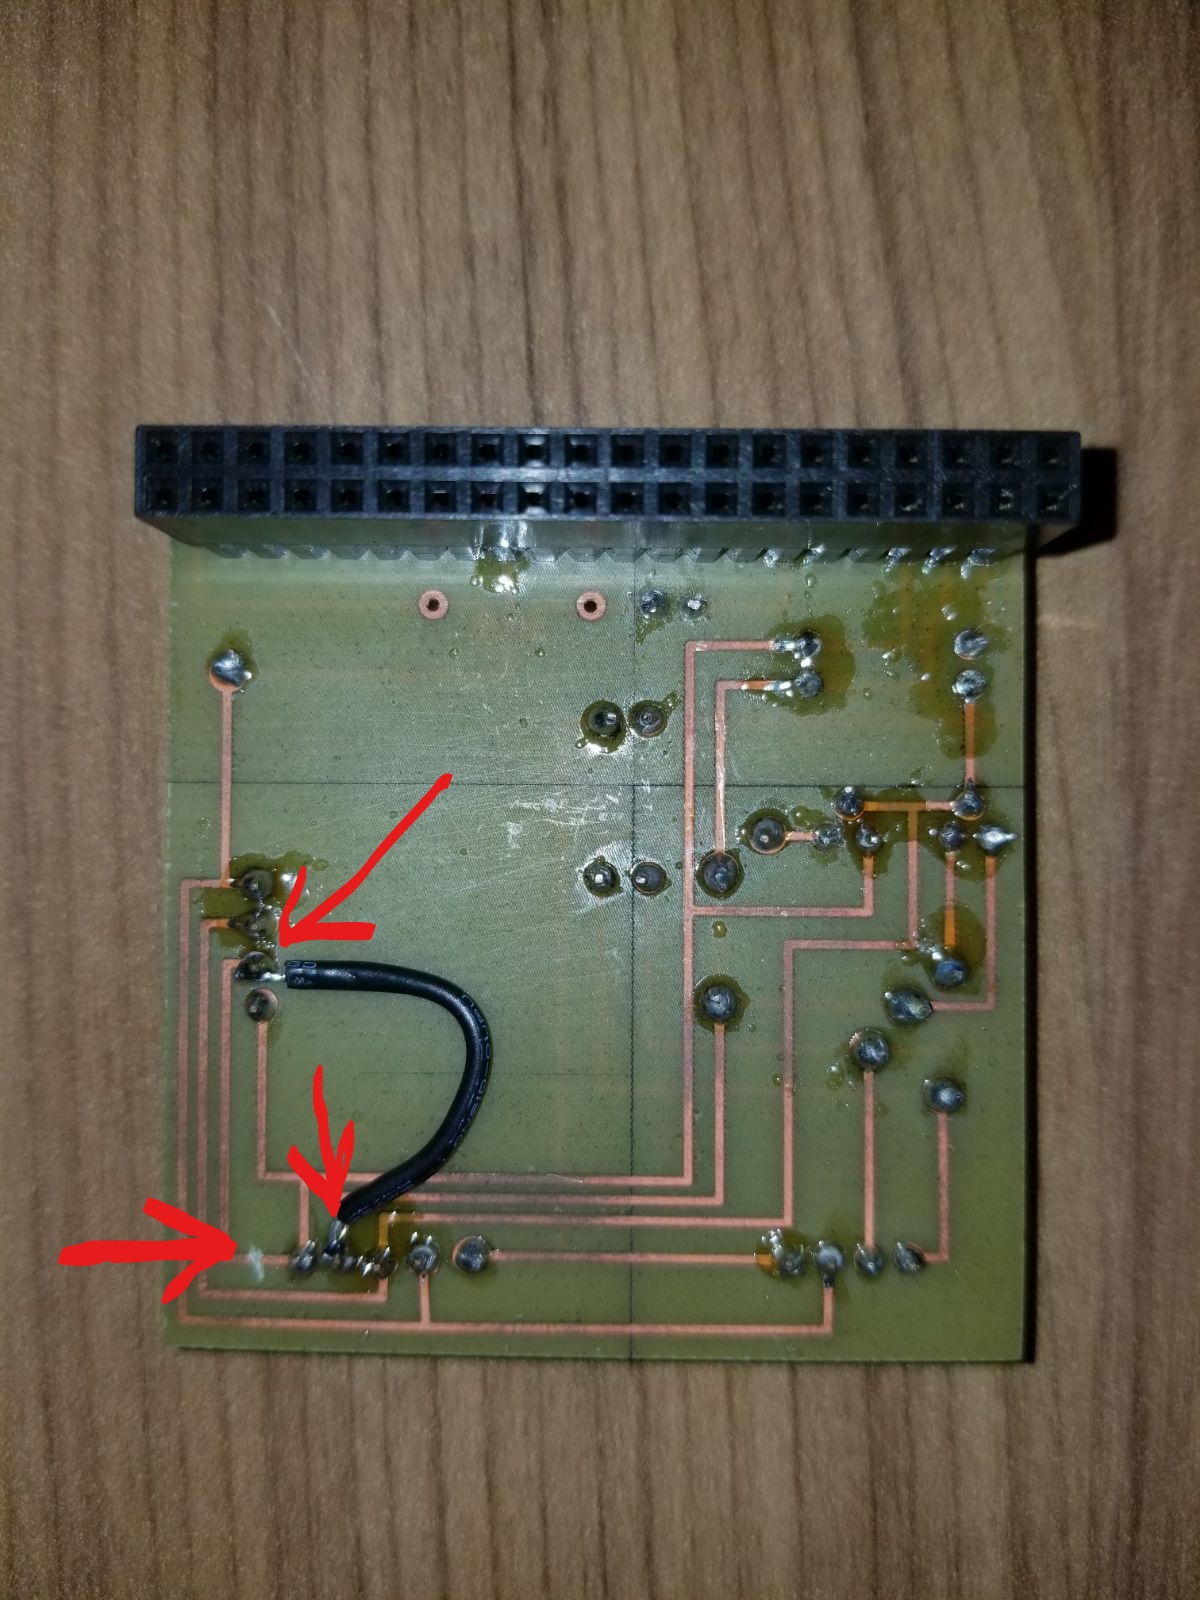
We had to fix a minor issue in the printed circuit board so the sensord could work correctly. While Running the BME280.py code, I got the ImportError: No module named smbus but I was able to solve it by using the following command that installs the missing library.
sudo apt install python-smbus
The BME280 now reads and displays the humidity correctly.
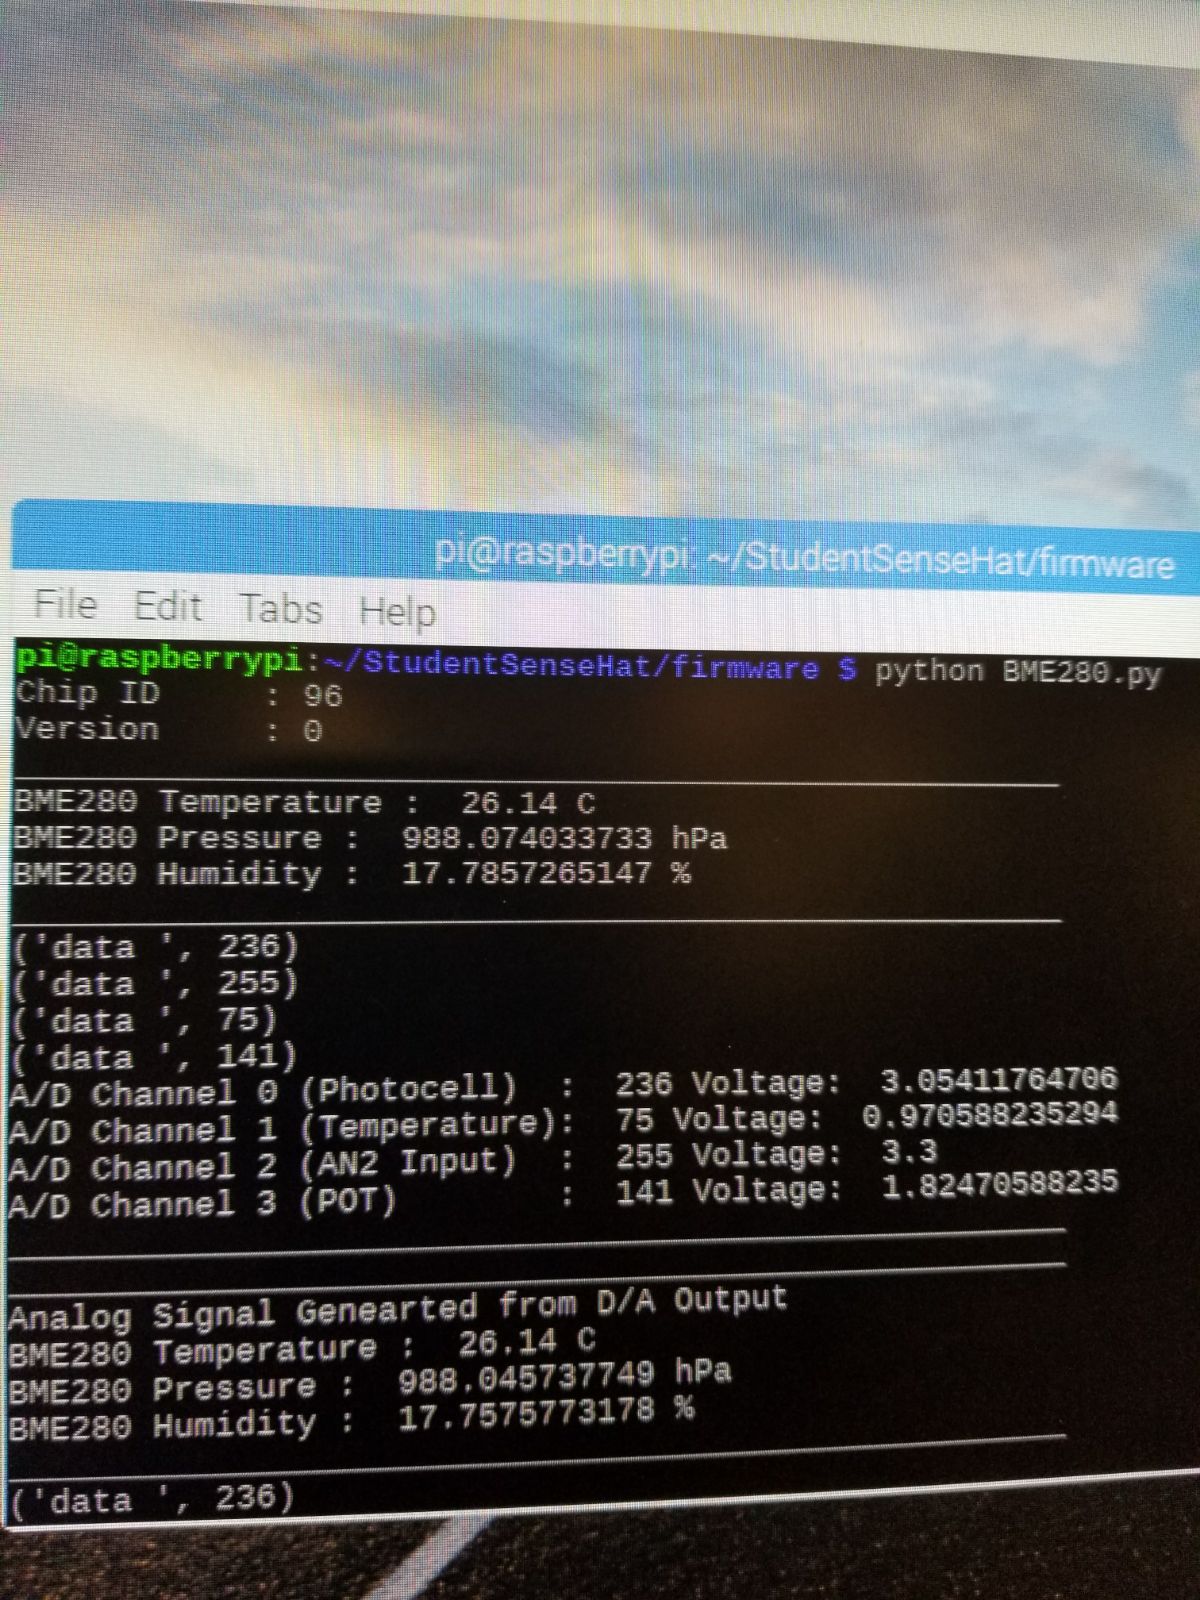
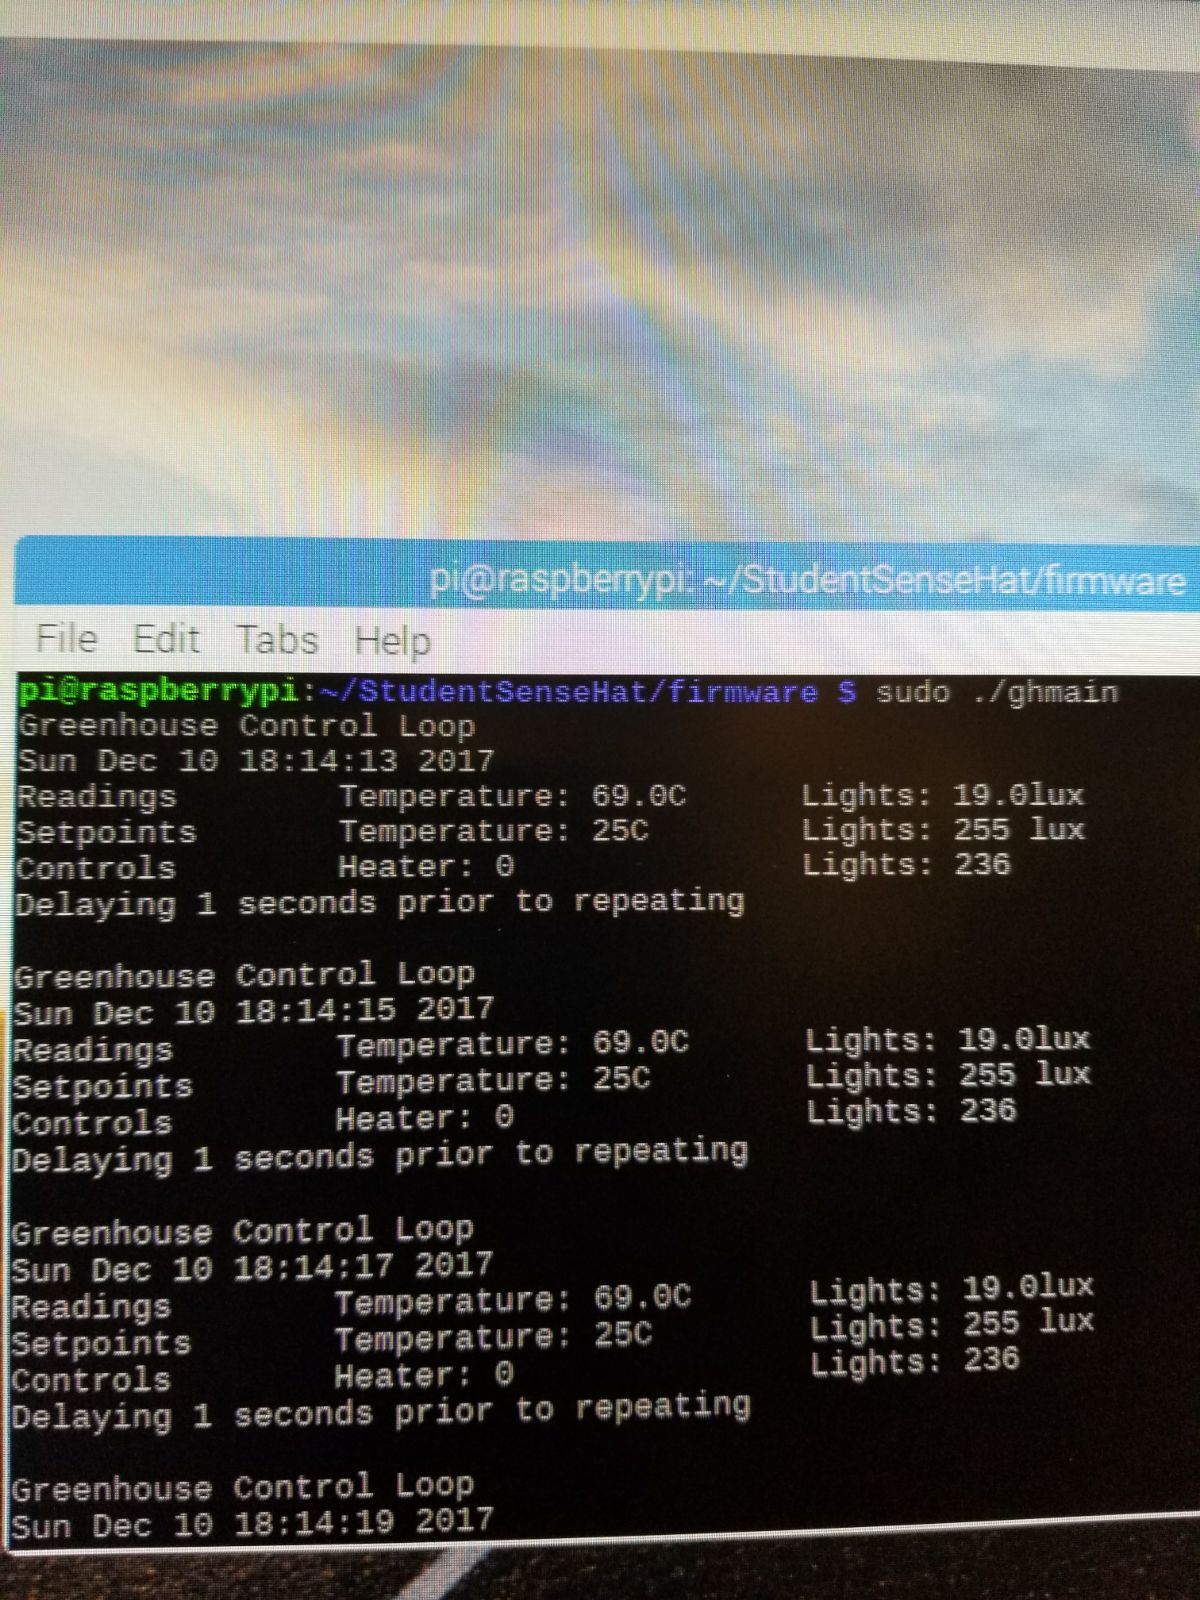
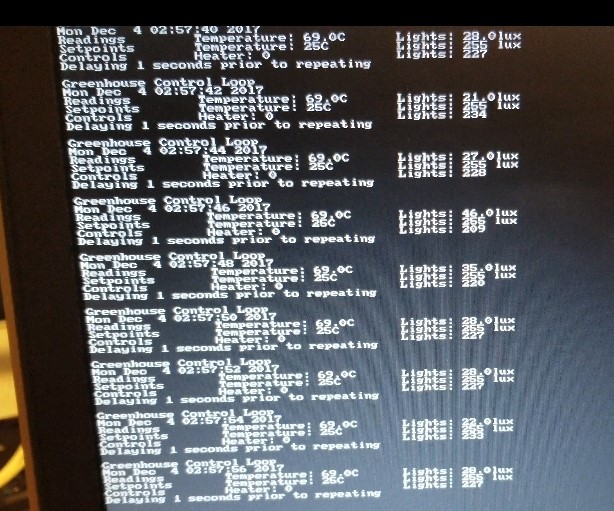
Output of ghmain:
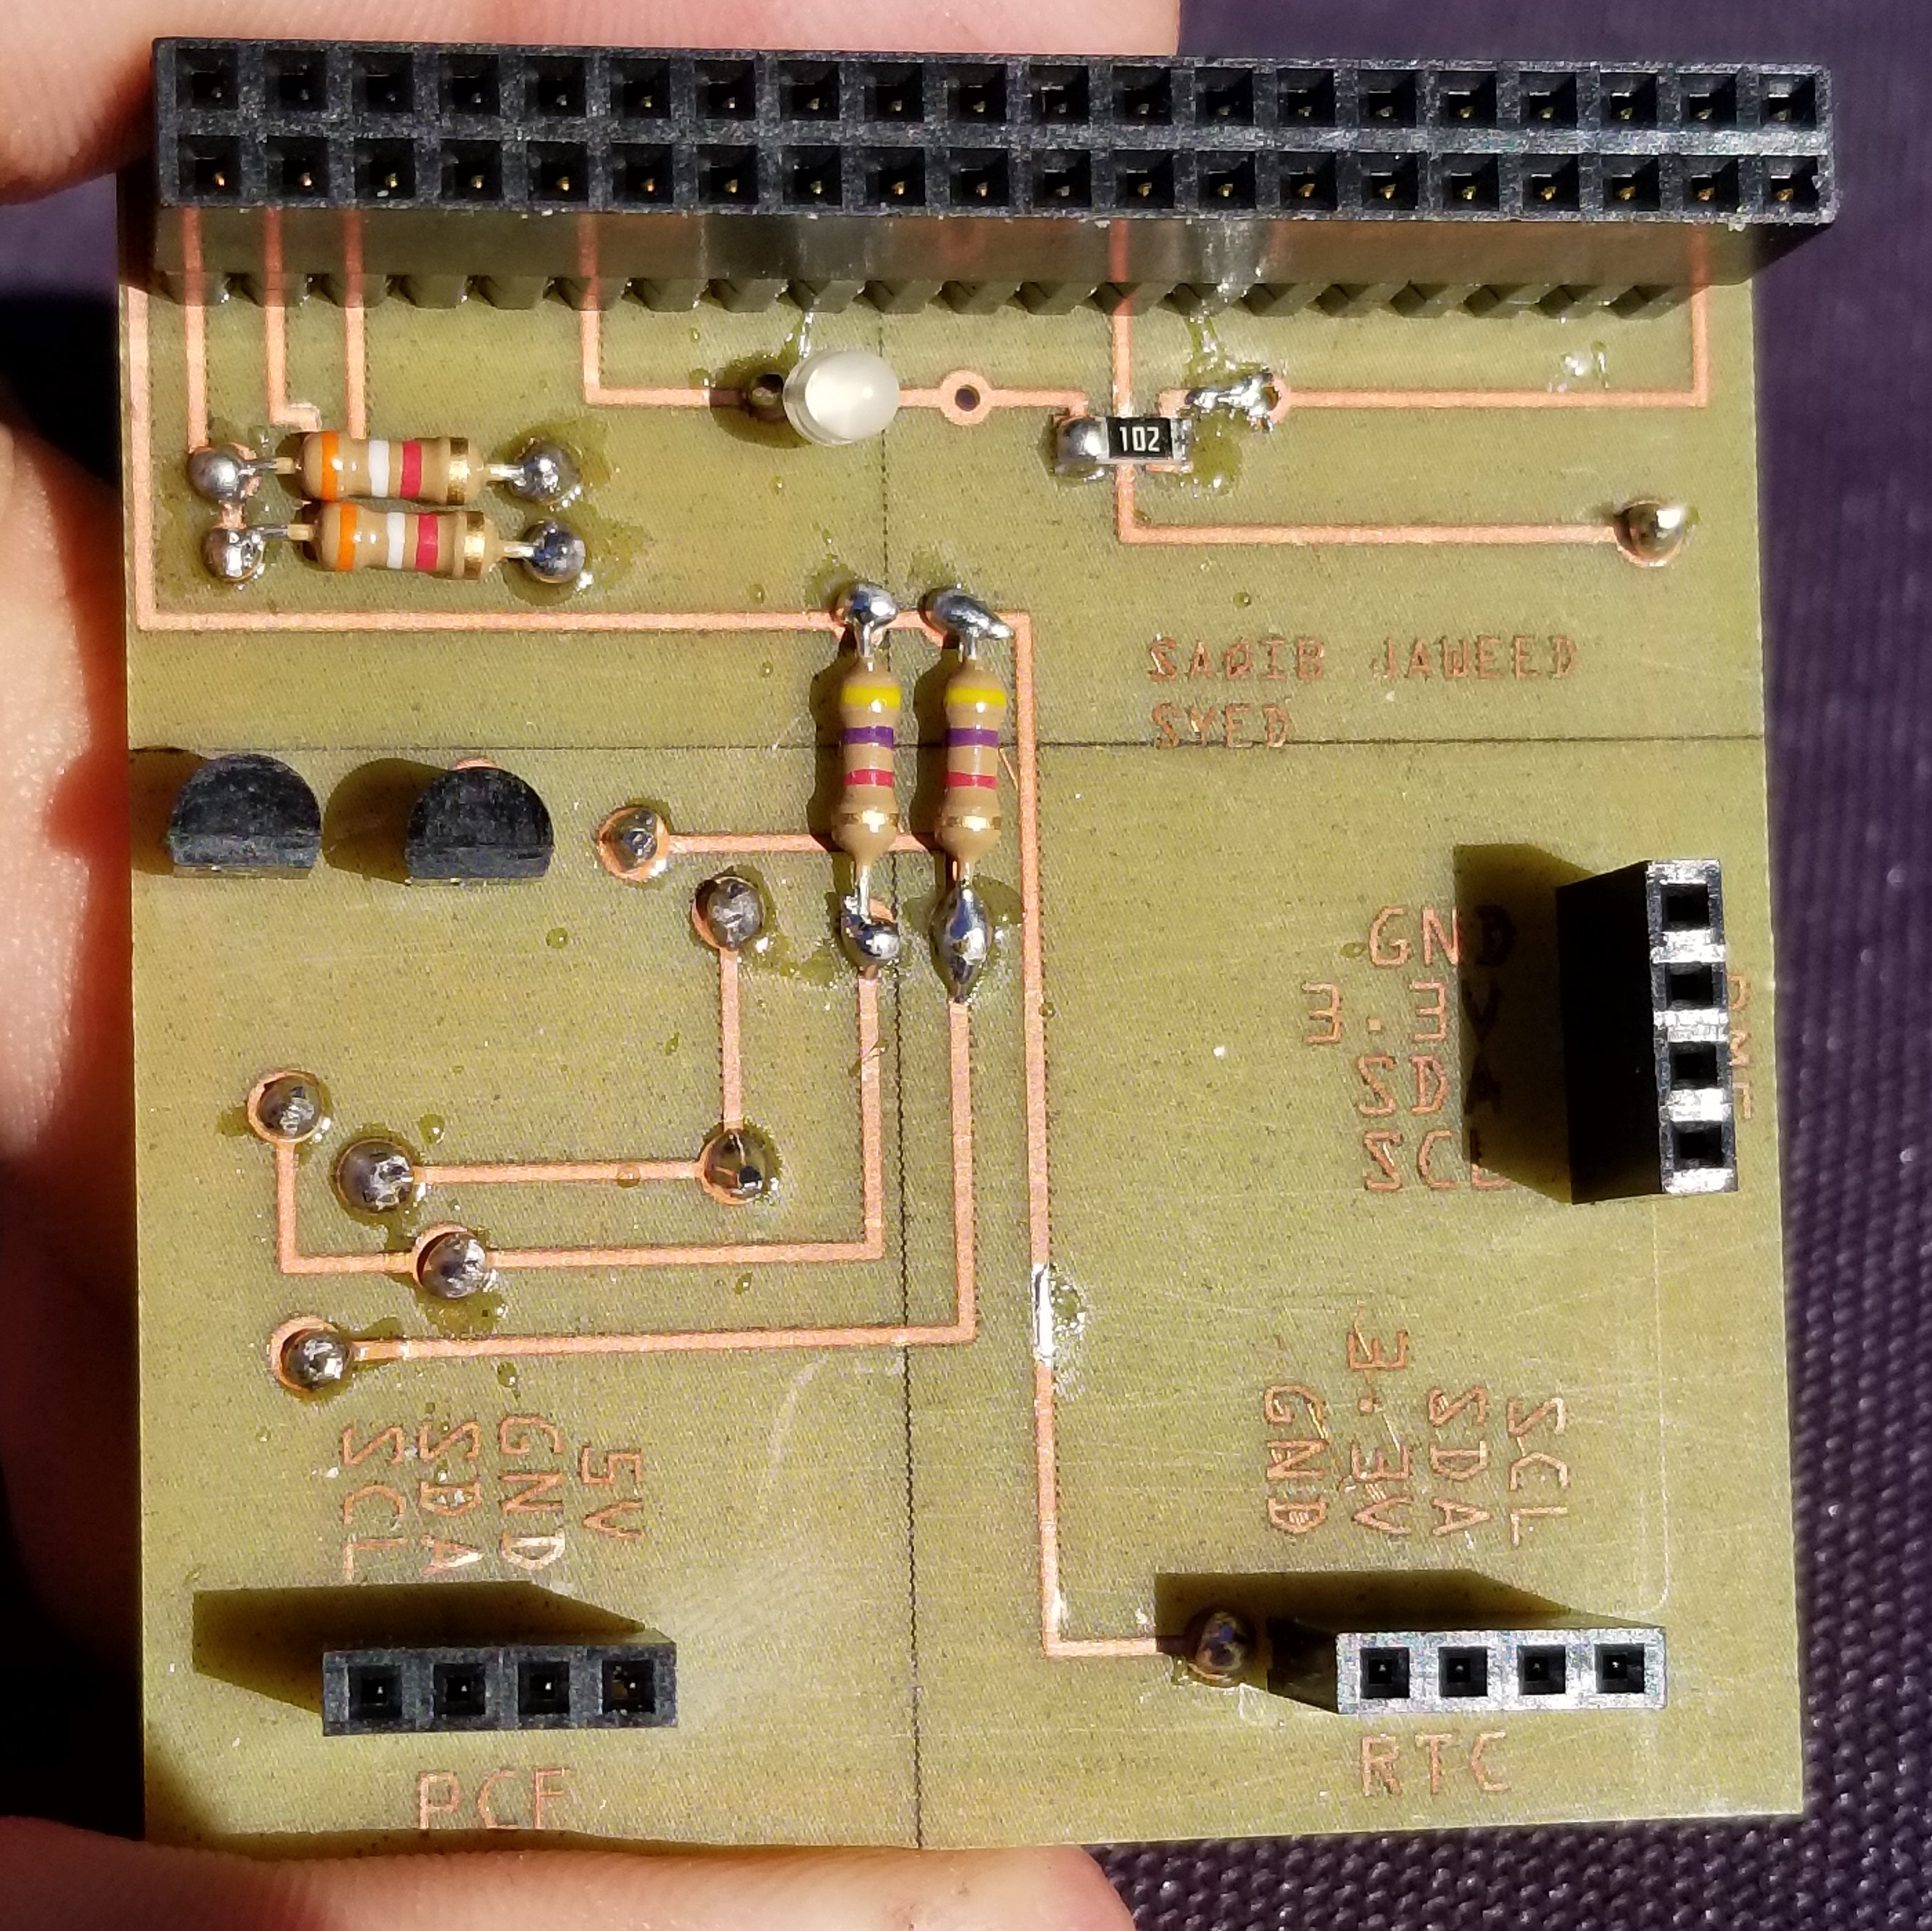
A picture of the back of my PCB Board to explain the changes I made to the original board.
December 03 2017
I had some time to kill today, so I tried to search of ways I can mirror my screen to another computer for remote access and also because writing code on a 3.5’’ screen was very frustrating.
Guess what!!! I downloaded teamviewer on my personal laptop and my Raspberry Pi from here and followed the instructions here to get things to work. It works like a charm without any lag. This means, that I can use my laptop’s screen to use the Raspberry Pi. The only catch is that both the devices have to be on-line and due to security reasons, Terminal window can not be accessed through remote desktop and can only be accessed through the default display that is the 3.5’’ TFT display.
December 01 2017
I have tested the PCB board that I sodered and it works fine. I ran the traffic2B program and saw the LED is blinking in the pattern (OFF-GREEN-OFF-ORANGE-OFF) and also ran the ghmain program, that reads the light and temperature sensors.
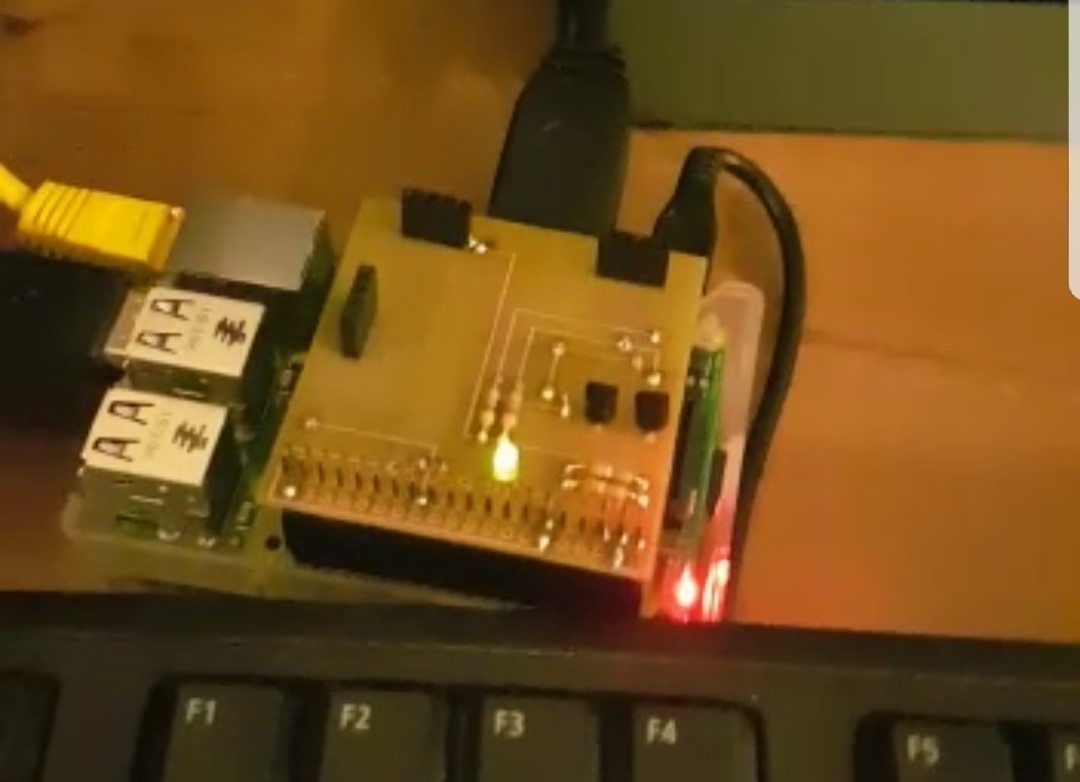
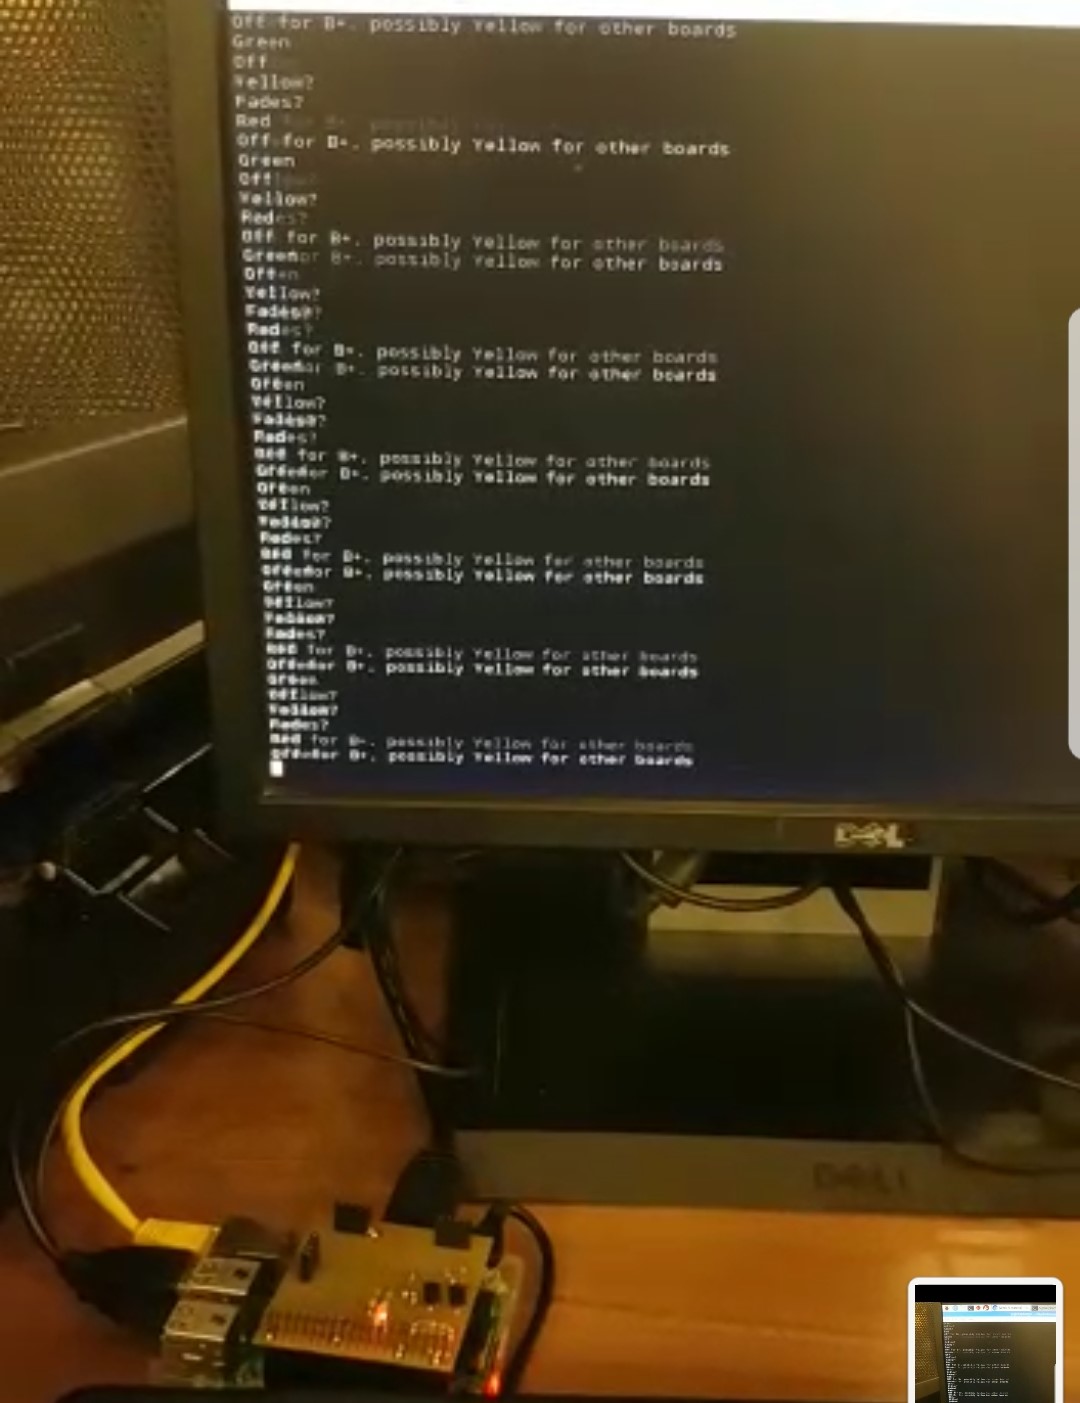
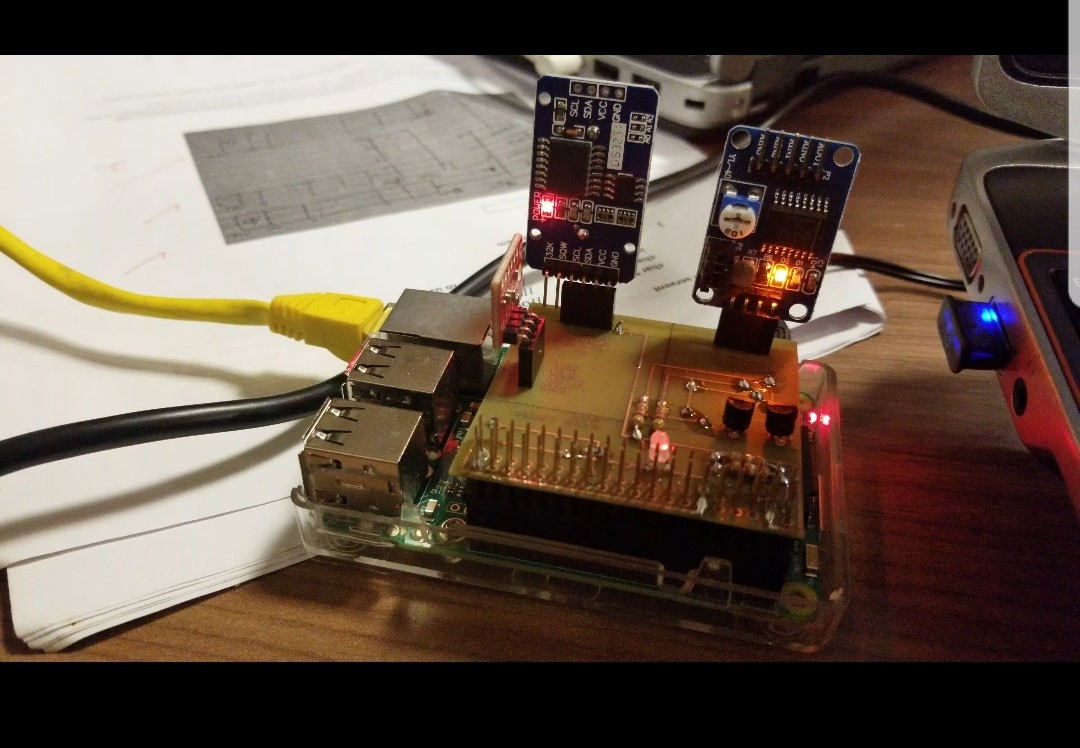
My screen even works when I install it over the PCB board.
November 28 2017
Got my PCB Board tested by Vlad at the Prototype lab. It works Perfect!!!
November 20 2017
The Touch Screen is now displaying and taking inputs. The whole process to get it to work took almost 6 to 8 hours.
I used this website for help and closely followed the steps.
Stay tuned for Videos, Pictures and Build instructions that are coming soon.
November 10 2017
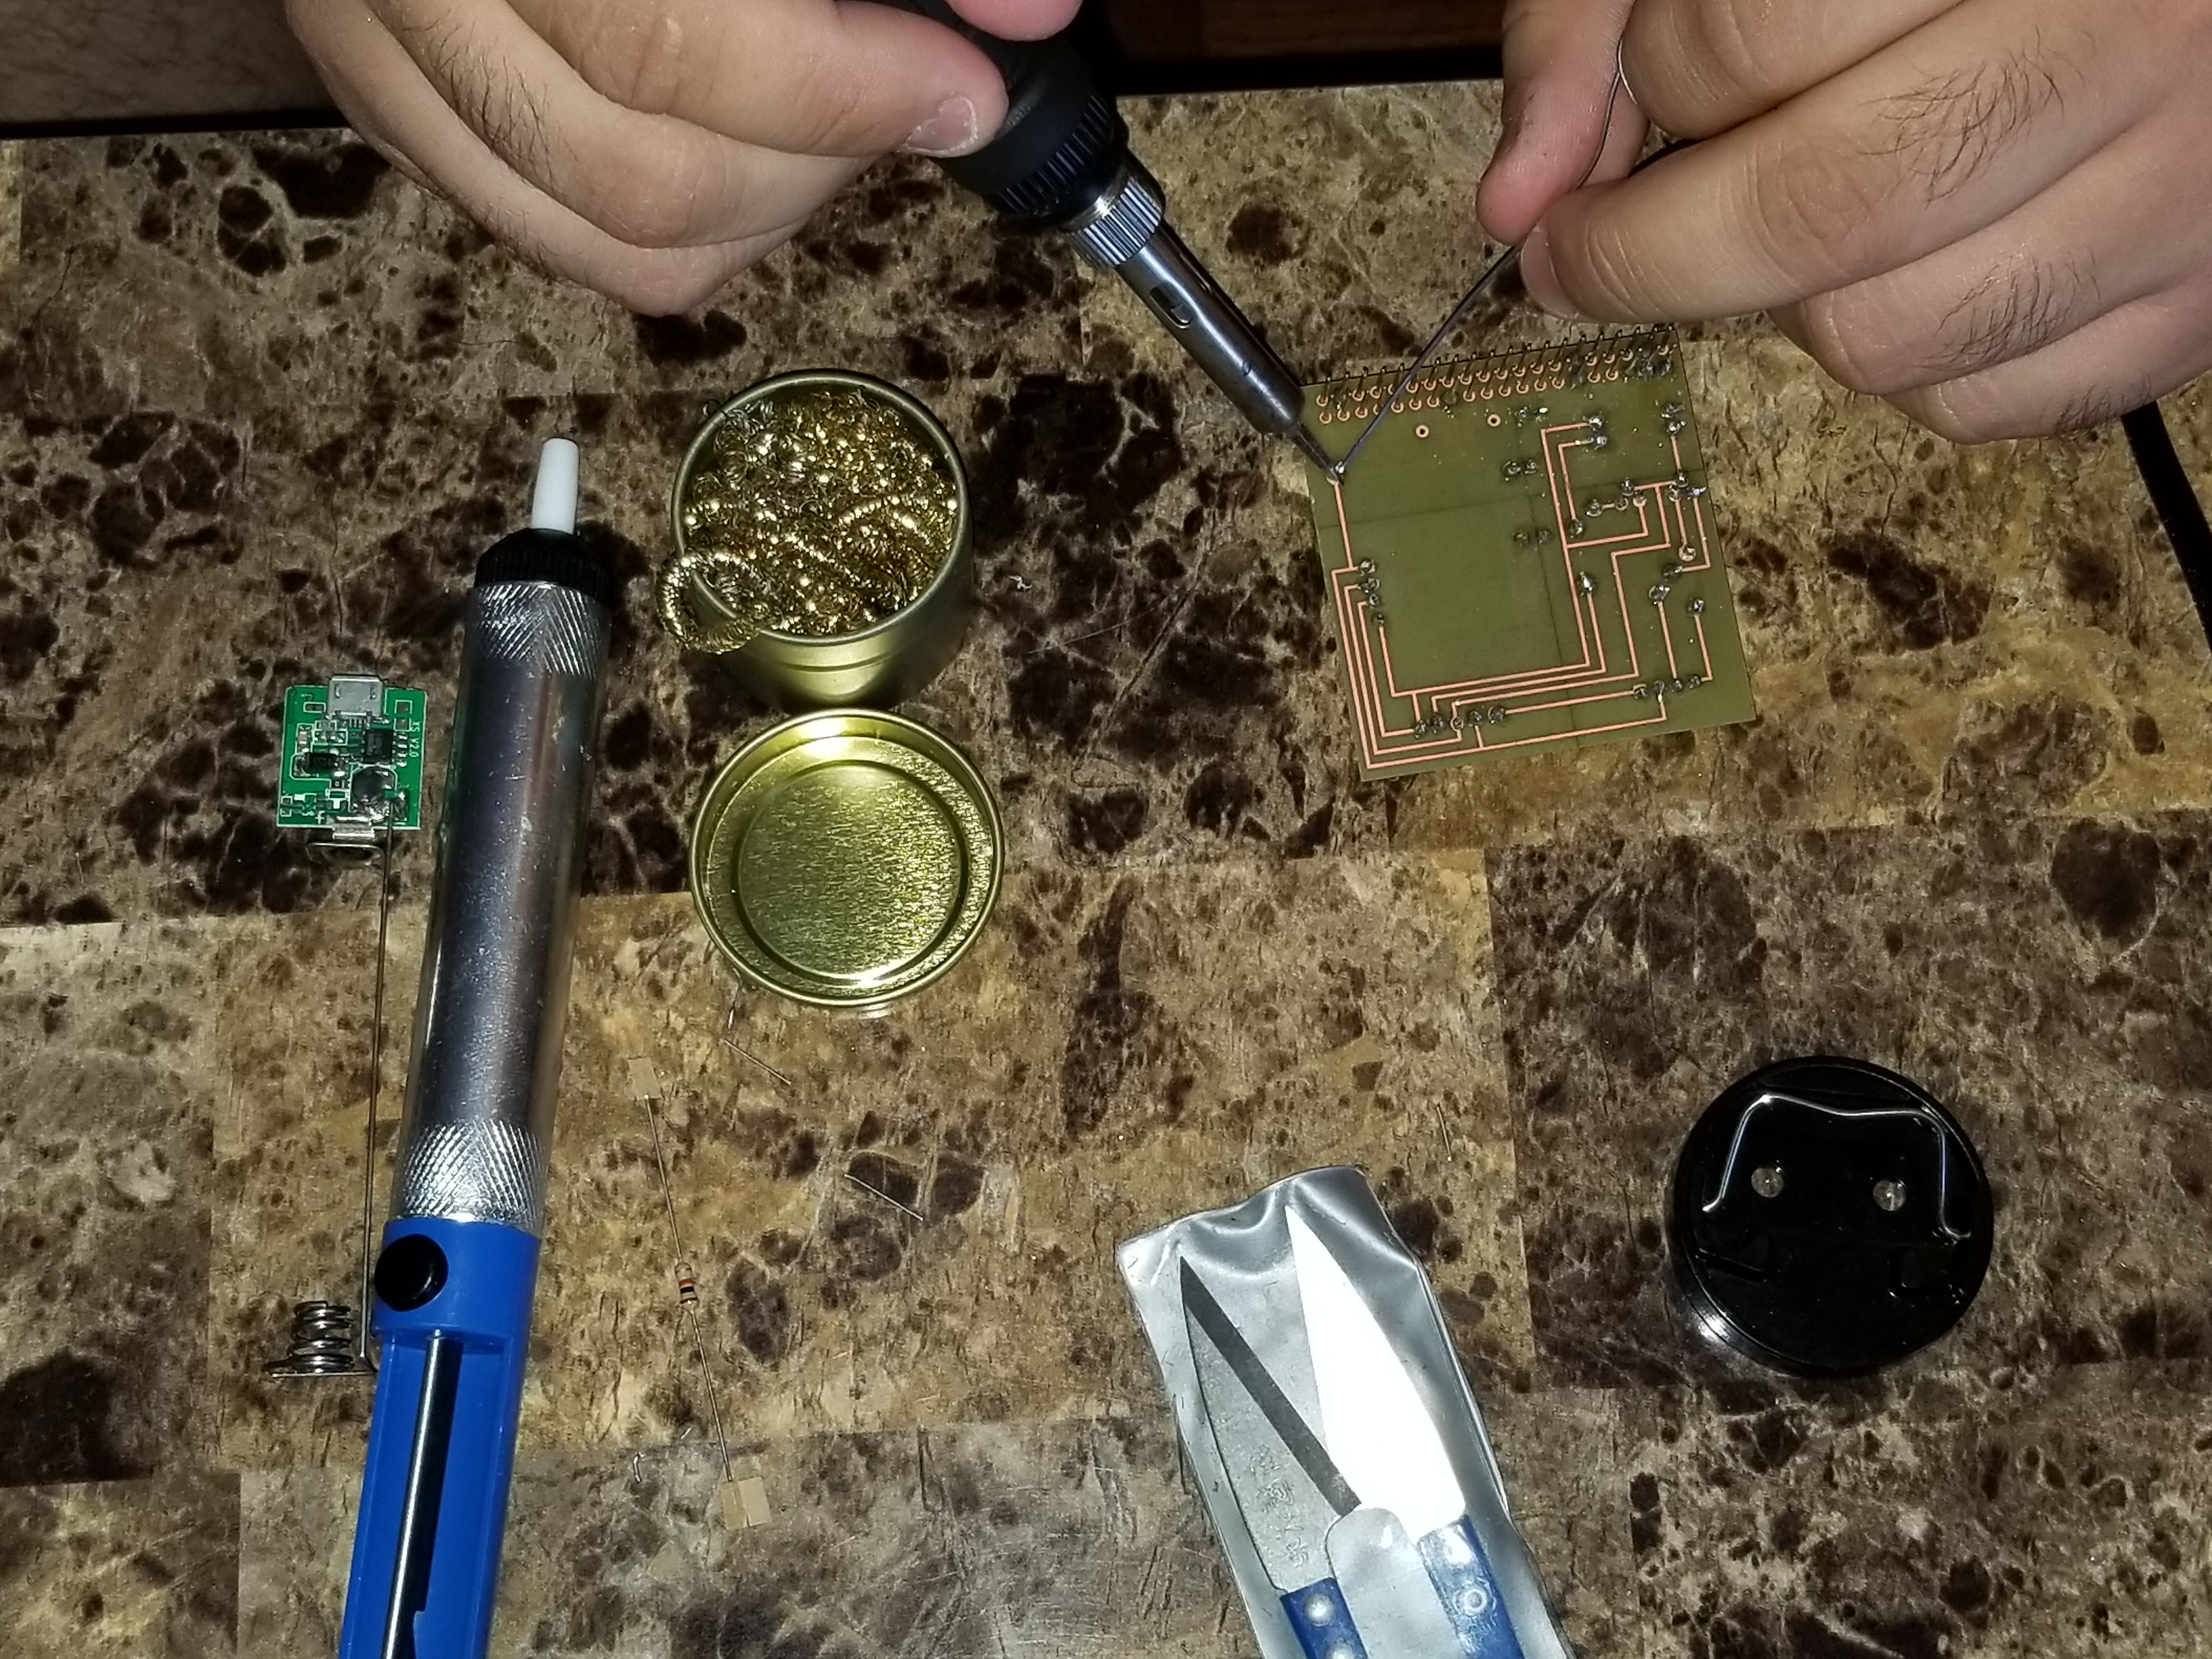
PCB Board made and sodered.
October 10, 2017
Hardware Parts bought from KIJIJI
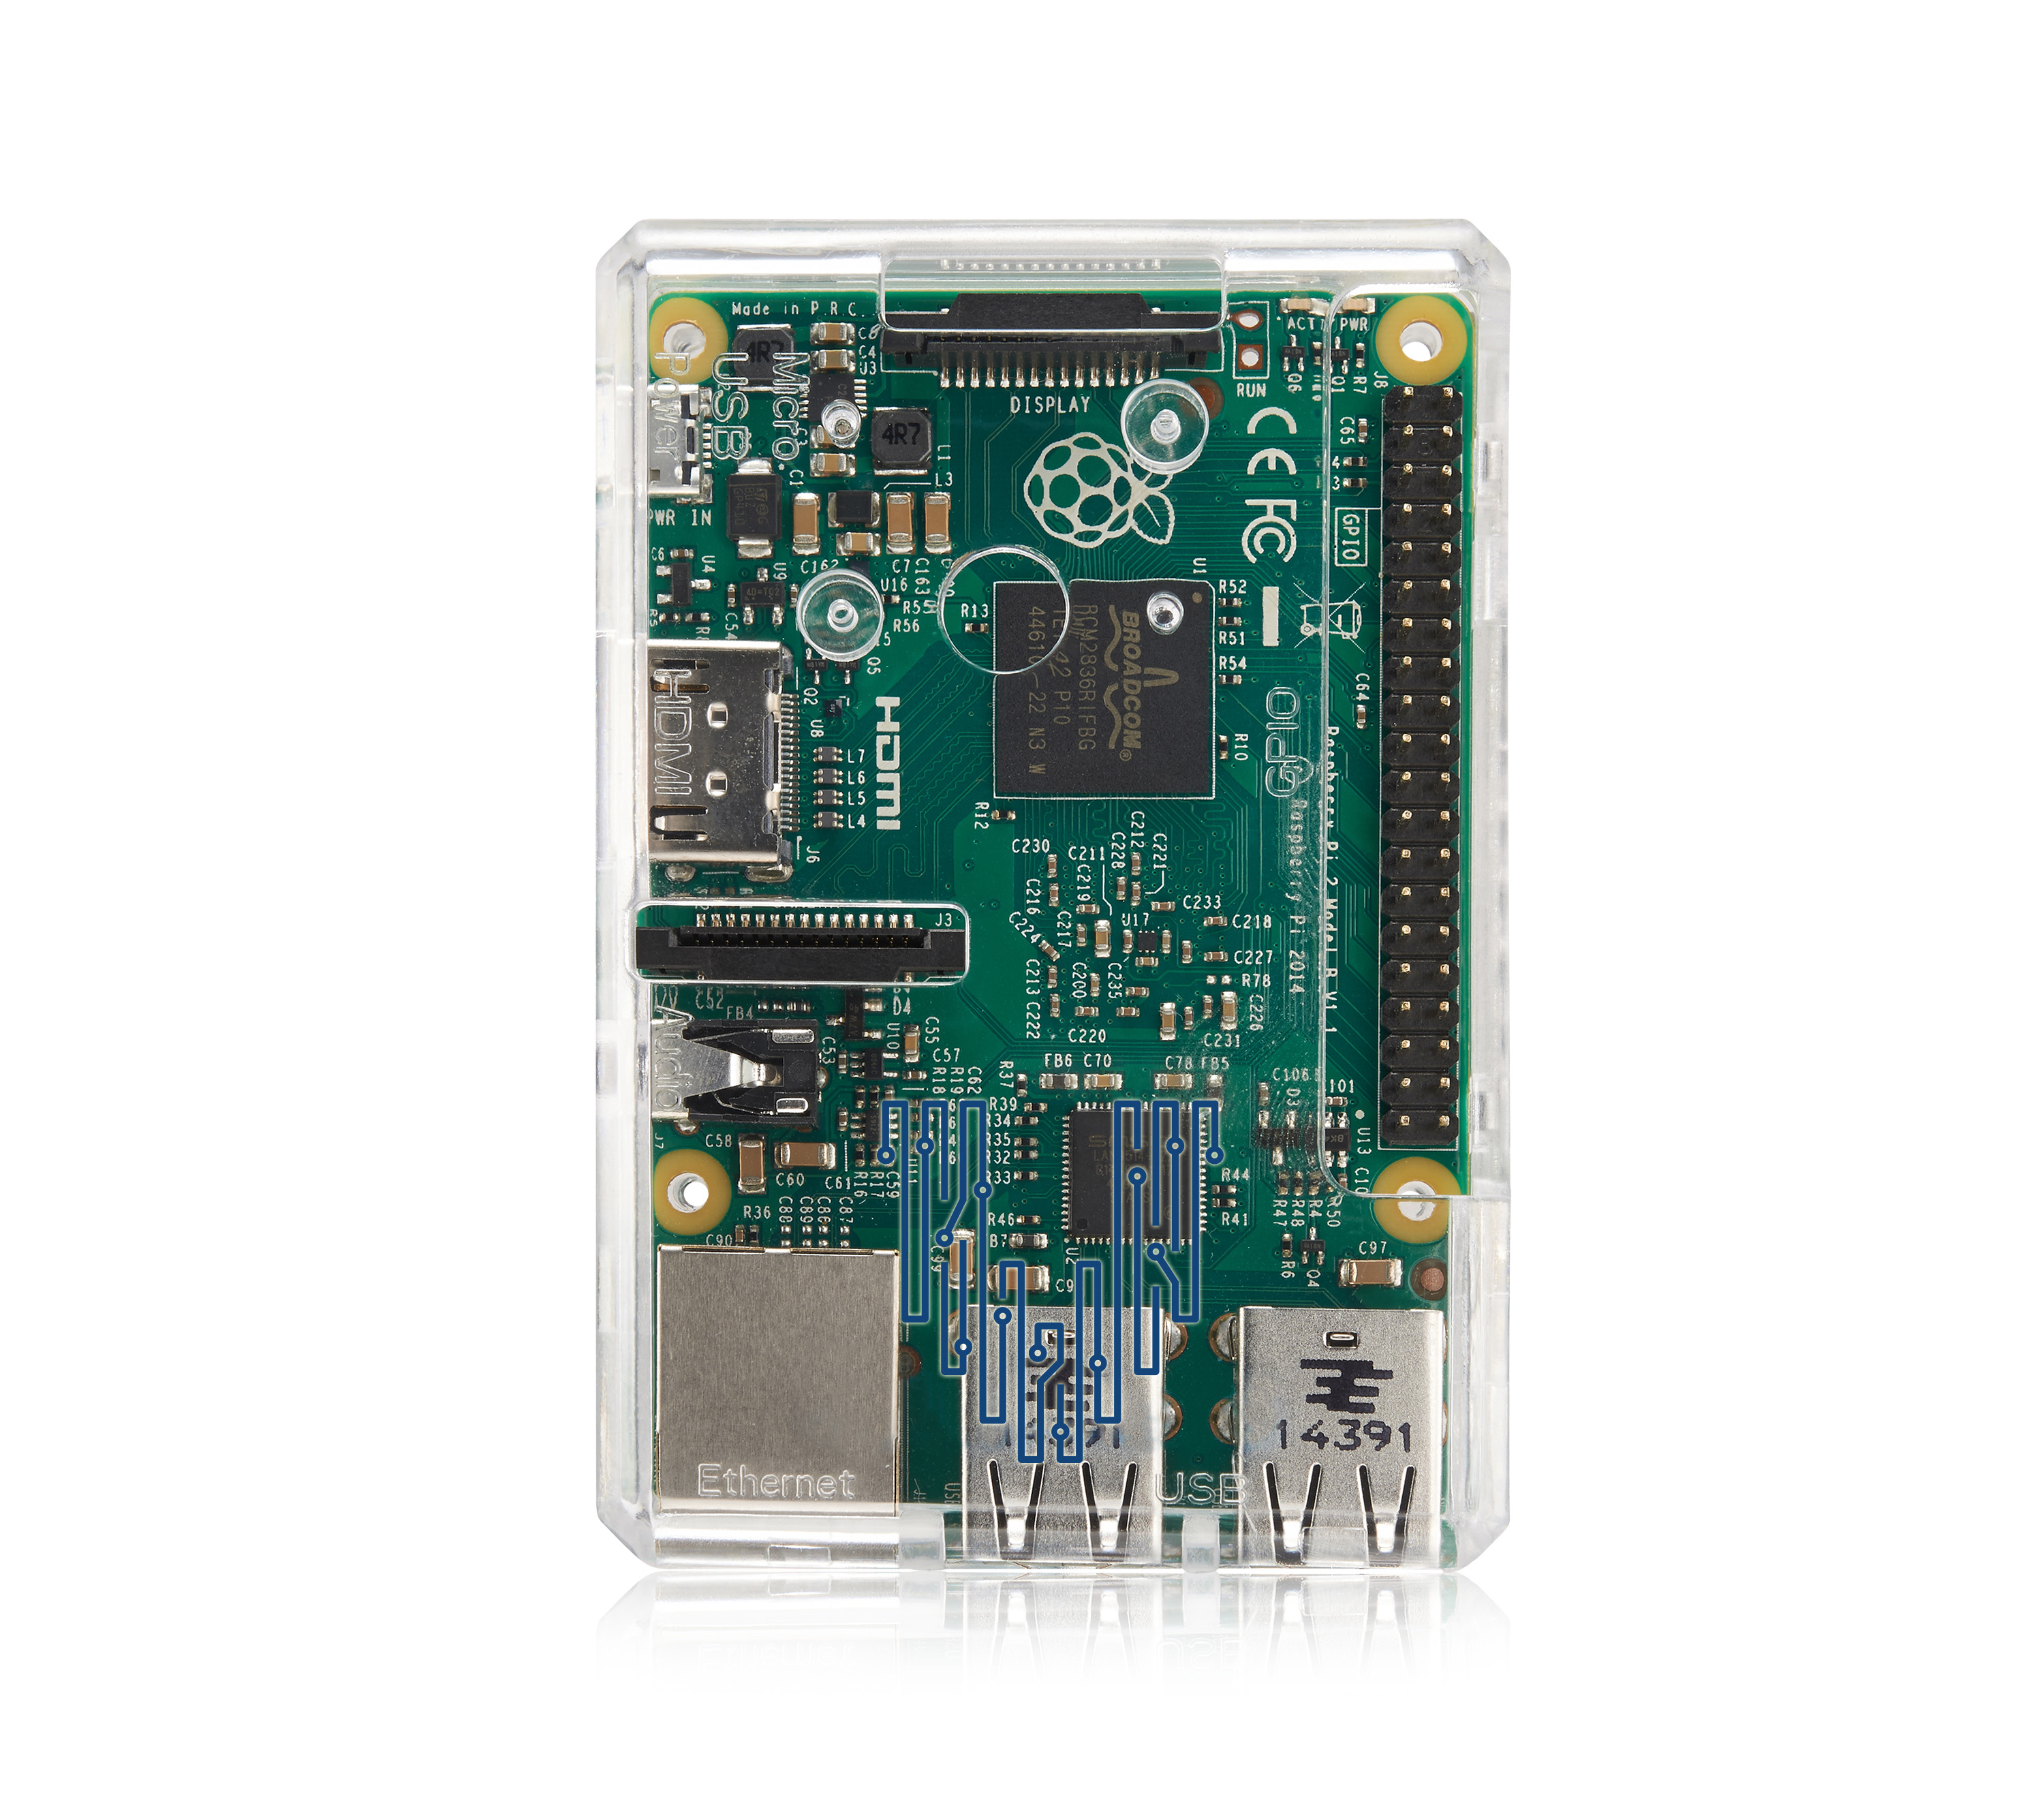
1. Raspberry Pi 3 Module B Kit $30.00
2. 3.5’’ Touch Screen Module by adafruit.com $20.00
October 02, 2017
Created Budget, to keep track on the project’s affordability.
September 25, 2017
Created Gantt Chart, that would help me to finish all tasks on defined time and stay on track.
September 18, 2017
Created proposal for a 3.5’’ TFT display. The display will be used as a default display for input and output.
Author
- Saqib Jaweed Syed - SaqibJaweed
